Fake Lugs
I'm going to spend more time doing fake lugs before I waste more real lugs. I'm stealing this design from Andy on the forums (don't worry about which forums, he's all over the place). A lot of people use nesting tubes, but he cuts them at an angle, which both looks cooler and gives you a better feel for drawing the silver through varying distances on the same piece.
On the first run, I drew the silver through nice and cleanly. I overheated things a bit, but not too bad. The shorelines were pretty clean and would require minimum sanding.
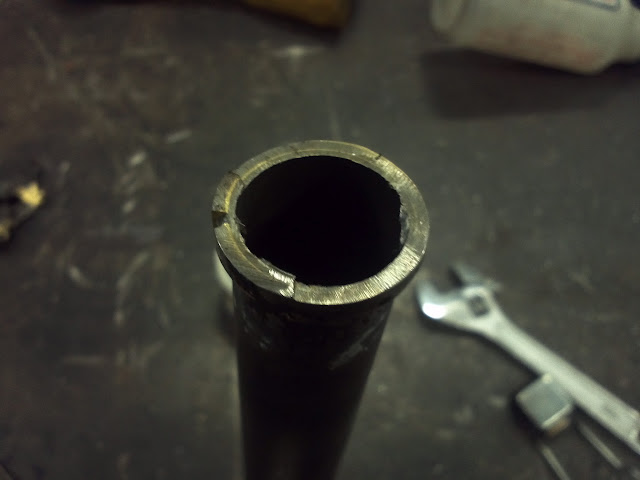
When I cut it open, it looked just about perfect. This might be a bit misleading, since I cut it pretty low. It's possible that filler flowed around through that area when I touched up the shorelines by melting the very edge. My instinct, though, is that I used a light enough touch that this is accurate.
I did a second practice bit, and had a bunch of gaps. While disappointing, it gave me some valuable insight. On the first bit I was methodical and slower, on the second, I overheated things, and skipped around the tube by a third while it cooled and came back. I think it's pretty clear that I need to slow down and force myself to relax and move in a straight line.
Breaking Ground
I just prepared the dropouts for the new frame by brazing on eyelets for a rack. I did it with brass, both because it's stronger than silver for this sort of joint and because it's higher melting temperature will keep it solid when I attach the chainstays and seatstays with silver.


Patience and attention to details is one of the thing you need with this work but of course safety is a must beforehand.
ReplyDeletebrazing equipment singapore
Appreciate you bloogging this
ReplyDelete