Showing posts with label lugs. Show all posts

Saturday, May 12, 2012

Brazing Interlude Part Duex

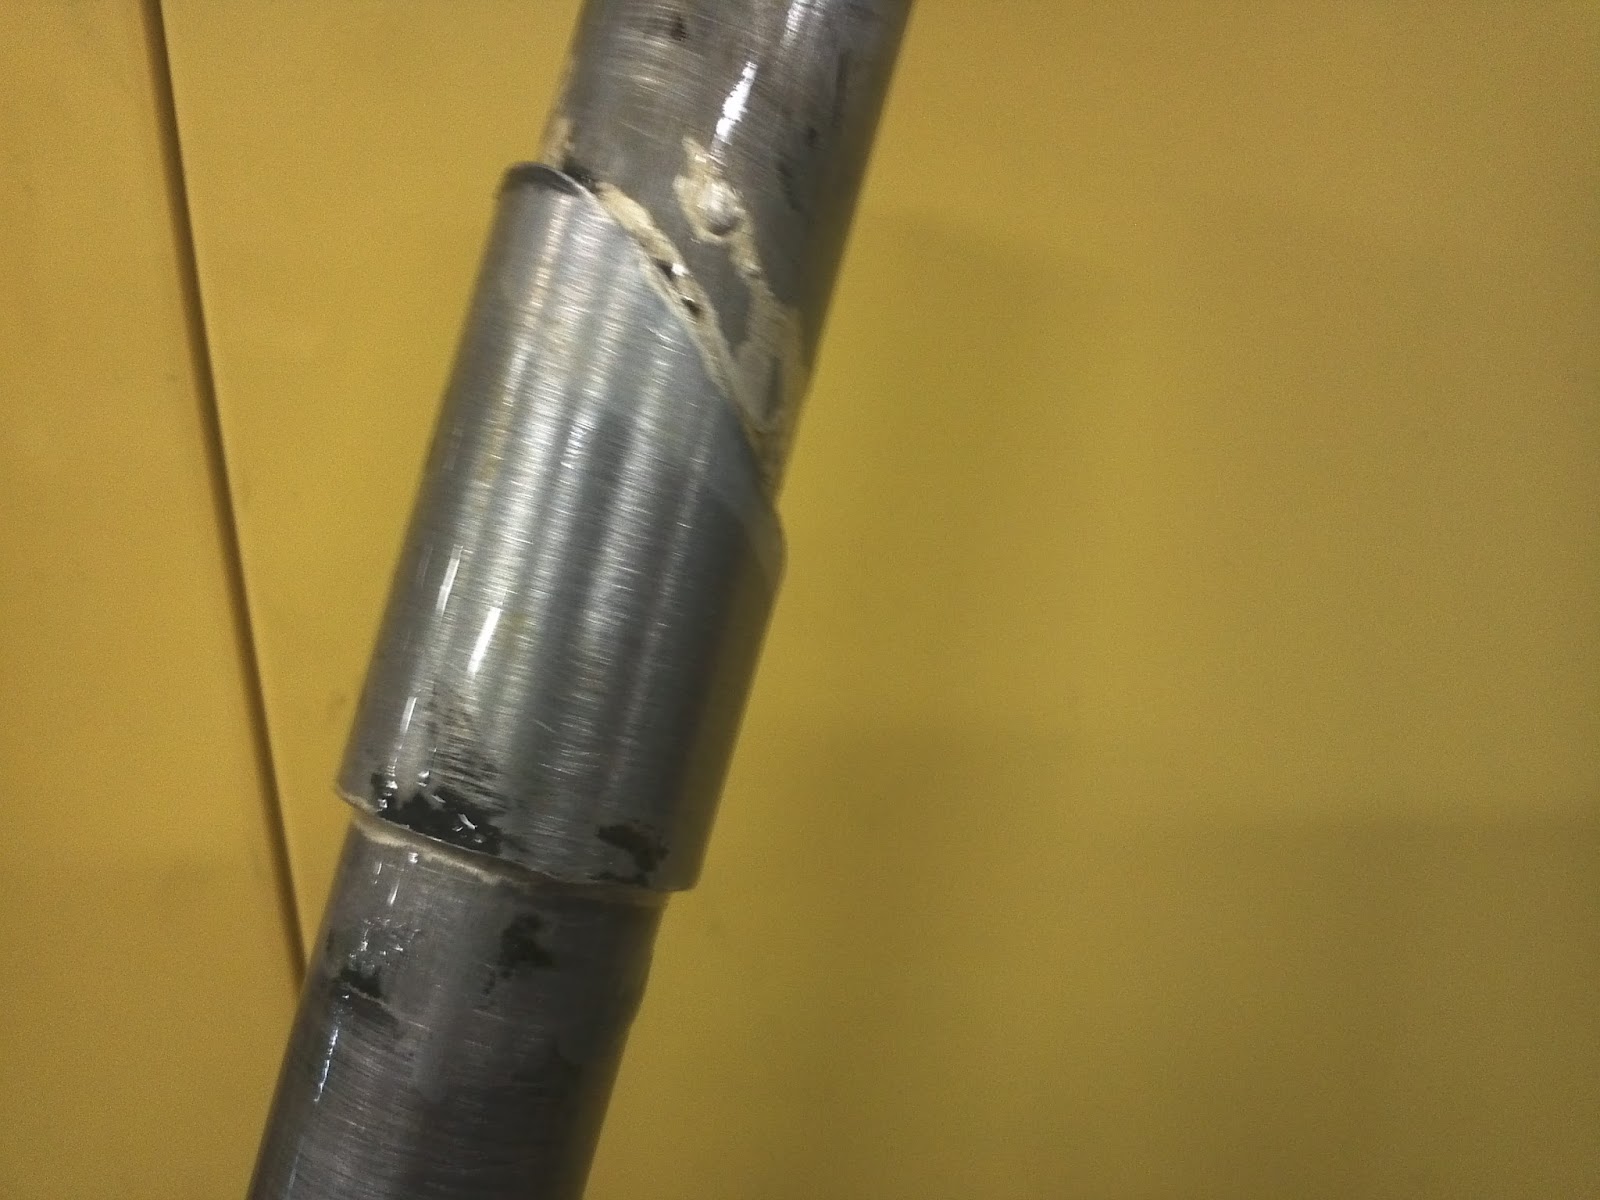
Sleeve


I started today working on another fake-lug practice piece.  I used a bit too much silver, but it filled nicely and turned out well.  Pretty close to perfect.  I just need to keep the heat down a bit to avoid crispy flux.


Seat Lug

I followed up the sleeve by brazing up the last investment cast lug from my initial lug/tubeset (the one that never really panned out).


This didn't turn out quite as well.  I got the shorelines filled, and most of the higher stress areas, but I wasn't able to fill the crease between the two tubes all of the way to the very center in a lot of places.  The gap is pretty small, but I'll have to work on it a bit.  


I also had trouble getting the filler to flow under the "ears" at the back.  The ears basically just clamp down on a seatpost, so it wouldn't be likely to cause a catastrophic failure... still, I'll have to start by getting them nice and hot next time.

My new lugset is thinner, but covers more area.  The shorelines are also a lot smoother, no huge points coming from small joints.  I think that'll help a lot when it comes to getting an even flow without overheating things.

Here's what's left after the autopsy!


Tuesday, May 1, 2012

Brazing Interlude

I'm taking a bit of time this week to remind myself that I'm not actually spending all this time JUST to make a bike rack.  I went back to doing some practice brazes and found that the work on the rack had really helped.  My heat control has improved, and perhaps as important, I'm a bit more patient and less jittery.

Fake Lugs

I'm going to spend more time doing fake lugs before I waste more real lugs.  I'm stealing this design from Andy on the forums (don't worry about which forums, he's all over the place).  A lot of people use nesting tubes, but he cuts them at an angle, which both looks cooler and gives you a  better feel for drawing the silver through varying distances on the same piece.  

On the first run, I drew the silver through nice and cleanly.  I overheated things a bit, but not too bad.  The shorelines were pretty clean and would require minimum sanding.  


When I cut it open, it looked just about perfect.  This might be a bit misleading, since I cut it pretty low.  It's possible that filler flowed around through that area when I touched up the shorelines by melting the very edge.  My instinct, though, is that I used a light enough touch that this is accurate.  

I did a second practice bit, and had a bunch of gaps.  While disappointing, it gave me some valuable insight. On the first bit I was methodical and slower, on the second, I overheated things, and skipped around the tube by a third while it cooled and came back.  I think it's pretty clear that I need to slow down and force myself to relax and move in a straight line. 

Breaking Ground

I just prepared the dropouts for the new frame by brazing on eyelets for a rack.  I did it with brass, both because it's stronger than silver for this sort of joint and because it's higher melting temperature will keep it solid when I attach the chainstays and seatstays with silver.


Friday, January 27, 2012

A Bicycle is a Slightly Different Series of Tubes

The new tubes, lugs, and small parts have come in!  

Here's the entire bicycle, laid out.  The two tubes with an obvious taper are the chain stays (they connect the rear wheel to the bottom bracket.  The four thicker tubes make up the front "triangle" of the bicycle.  We call it a triangle because people get confused when scruffy bike guys use words like "quadrilateral".  

These tubes, with the exception of the head tube, are butted.  They get significantly thinner at the center to save on weight.  Since most of the strain on the tubes is near the joints, you don't lose a lot of strength.  

The small tube near the center with a drilling in the middle will hold the rear brake.


A lot of my favorite goodies are in that little plastic bag.  Reinforcement plates, classy adjustment barrels, and rack mounts.  I'm looking forward to dressing them up a bit this time around.  


This set of lugs are a little smoother than the last set.  They cover more of the tubes and sweep pretty gradually between them.  Unfortunately, this eliminates some of the elegance of the lugs I was originally using, which have a crease that better defines the tubes.  The flip side of that is that there's a fair amount of material to play with.  I might grind some detail work into the shorelines.


Tomorrow I'm going to prep a bunch of tubes (and the spare, cheap set of lugs I included in the order) for practice brazing.