Braze-ons
The braze-ons went on pretty quickly this time, except for one brake stop that kept moving around. Ended up with about a metric ton of silver on there. I'll have to get some little magnets. The one I used to hold things still for a couple of other bits worked well, but I managed to ruin it with the flame.


Head Tube/Down Tube Sub-assembly
I didn't get a lot of photos of my first joint on this attempt, as my phone ran out of batteries pretty early on. Luckily, it was pretty simple. I checked the angles, fluxed it up, and brazed it. I did burn some flux on the head tube side of the joint, right at the bottom. Thankfully, after I chipped off the burnt flux and spread around some fresh, I was able to channel enough silver through to feel pretty confident about the joint.

Despite being pretty careful, it seems that the joint pulled back to the original 60 degree angle of the lug, not to the 59.3 that I'd thought I'd filed things to. It only took a few minutes with a cheater bar through the head tube to make the adjustment, and I managed to finish it out within .1 degrees of correct.
The above picture was taken after some sanding and filing.
Seat Tube/Bottom Bracket Sub-Assembly
I was worried going into brazing the bottom bracket shell on to the seat tube. The BB is a big heavy piece of steel, and that makes it a lot harder to get up to temperature without going over. I did a test joint right before doing the actual work, just to get myself calibrated.
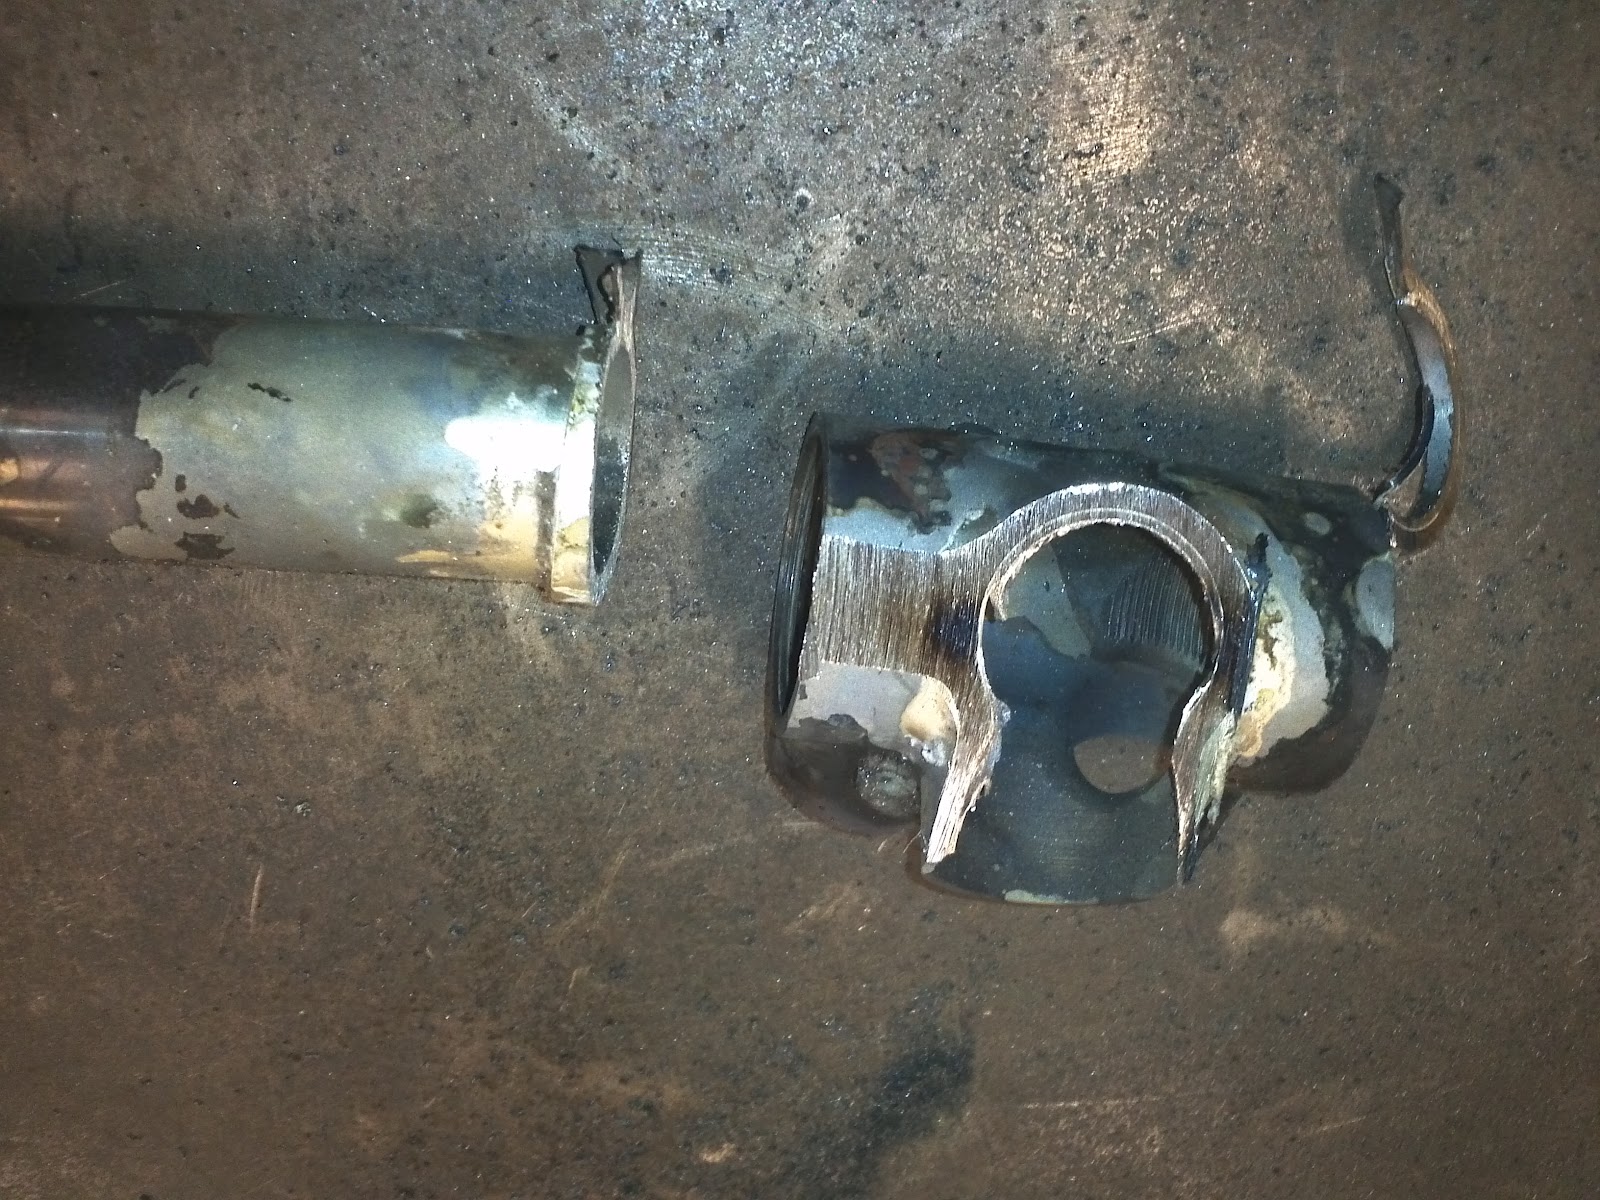
The test piece came out pretty well, a nice clean ring of silver in each of the cross sections.
When it was time to do the joint itself, I got everything aligned and fluxed, then tacked the front and back of the BB lug to keep it in place, then aligned everything again. When I started brazing, it worked flawlessly. I was able to draw the silver exactly where I wanted it. Best braze I've done to date... until I got half way and the BB fell right off. It was comic, and frustrating.


Basically, I'd had about half the shell up to temperature, so all of the silver was soft at the same time. On my second try (after soaking and sanding each surface clean), I tacked the piece on four sides.

This time it worked almost as well, but with less falling. I used WAY too much silver, in my paranoia about gaps or voids, but that's easily fixed with emery cloth and patience. I didn't even overheat things much!

I did find that the points were a bit far from the lug, as I'd widened the socket to get the angles right (this tube needed to tilt about 1 degree further in the direction of the down tube than the lug is set up for). If I'd been thinking more, I'd have clamped the points back into place before proceeding. As it is, I'll just have to dribble a bit more filler on the point when I do the other joints and sand until it doesn't look dumb. Internally, it should be fine.

Just for fun, I slotted the two sub-assemblies together and was overjoyed to find out that, if I don't let stuff slip when I braze the last few joints, the vertical tubes should both end up at the required 73 degrees.
Funny story:
I had to cold set (fancy term for "bend") the BB's angle, after tacking but before brazing. When I cranked the tube to the side a degree or two, one of the little tacks popped free. I must have jumped a few feet into the air, and was sure that I'd wrecked the whole thing.
No comments:
Post a Comment
Feel free to leave questions, comments, and criticism. In all three cases, please keep it classy.